How to connect Office 365 Exchange Online to Windows PowerShell
The Exchange Online allows management of the Office 365 via PowerShell Command Lines. And while you are doing some activity in Office 365 through the PowerShell. The connectivity of Office 365 to Windows PowerShell is required. That’s why here I am discussing the process of how to connect Office 365 Exchange Online Mailbox to Windows PowerShell. For establishing the connection with o365 Exchange Online and PowerShell you can use this step by step solution.
Before running the command you need to install some pre-required service like:
1- .Net Framework, Windows Management Framework 3.0, 4.0 or 5.1 according to the Operating System version.
2- PowerShell needs configuration by running following the script.
Set-ExecutionPolicy RemoteSigned
Otherwise, the given error will display when you connect the o365 to PowerShell.
Error:
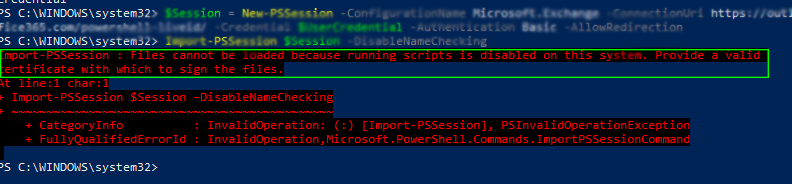
Note: You need to run this command on your computer at once. You don’t require run the script every time when you connect to the Exchange Online PowerShell.
Step by step process for connecting Office 365 to PowerShell
Step 1: First search the Windows PowerShell and right-click on it then select the Run as Administrator.
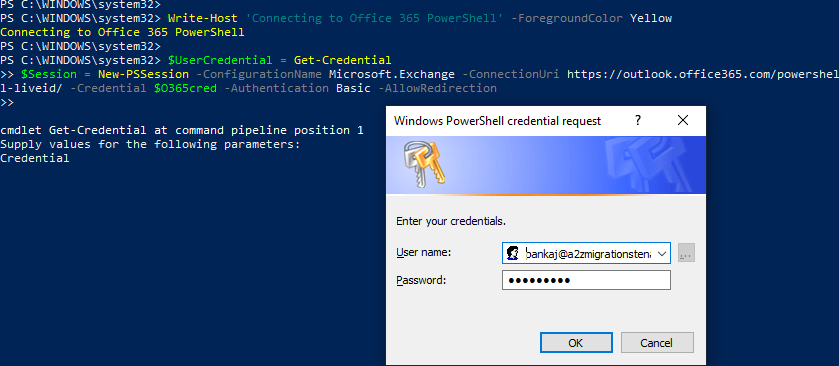
Step 2: Once it opens you need you to type the command lines to connect Exchange Online PowerShell.
Note: After execution, you have to log in your Office 365 Admin Account details like ID and Password.
$UserCredential = Get-Credential
$Session = New-PSSession -ConfigurationName Microsoft.Exchange -ConnectionUri https://outlook.office365.com/powershell-liveid/ -Credential $O365cred -Authentication Basic -AllowRedirection
Step 3: Once you logged in your Office 365 account you have successfully connected the Exchange Online Windows PowerShell.
Note: If it comes under some specific operator then you have to enter the following connecting URI according to you.
1- For 21Vianet Operator Users
URI: https://partner.outlook.cn/PowerShell
2- Germany Users
URI: https://outlook.office.de/powershell-liveid/
3- Under the Proxy Server users
$proxyOptions = New-PSSessionOption –ProxyAccessType <Value>
After the end of the session, you need to enter the parameters and the values
$Session =…command: -SessionOption $ProxyOptions
Not the ProxyAccesstype Value : IEConfig WinHttpConfig or AutoDetect.
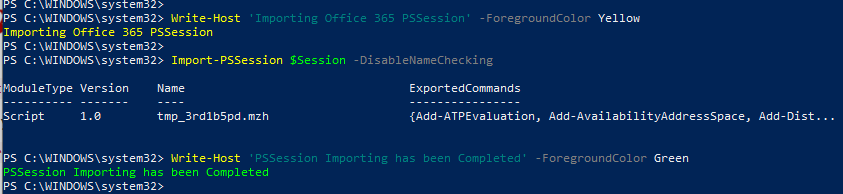
Step 4: Now create the PSSession by putting the script for handling the Office 365 Account via Windows PowerShell.
Import-PSSession $Session -DisableNameChecking
Final Verdict: In this post, I tried to explain that how to connect Office 365 Exchange Online Mailbox to Windows PowerShell. I hope this blog will help to establish a connection between o365 Exchange Online and PowerShell. If you have any doubt then just feel free to ask, simply type the message on the comment box.